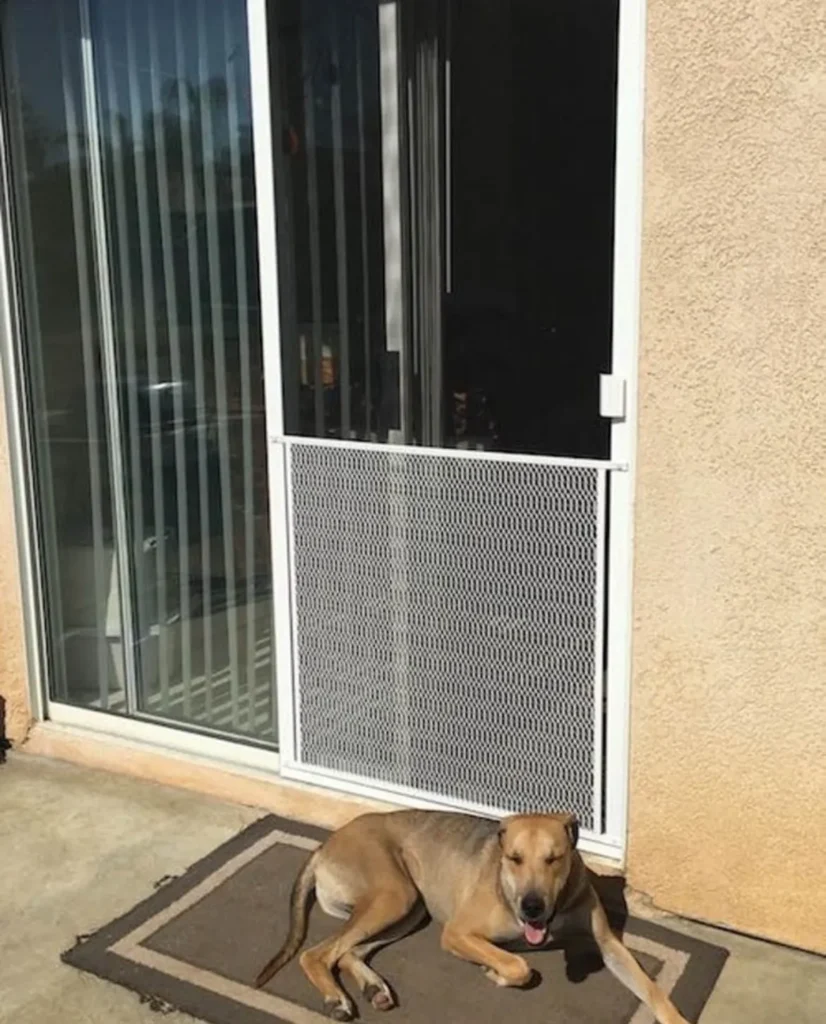
sliding door installation result

10 Clear Signs Your Sliding Glass Door Installation Was Done Correctly and Safely

sliding door installation result

Three months after Mark’s sliding glass door installation, he started noticing small puddles of water on his floor after rainstorms. What began as minor annoyance quickly escalated into thousands of dollars in water damage repairs. The worst part? A quick post-installation inspection would have revealed the improper sealing that caused the problem.

Don’t let this happen to you. Whether your installation was completed yesterday or years ago, knowing how to evaluate proper sliding glass door installation can save you from costly repairs, safety hazards, and energy waste. The difference between professional craftsmanship and shoddy work isn’t always immediately obvious, but the signs are there if you know what to look for.

This comprehensive checklist will help you assess whether your installation meets professional standards or if you need to address potential issues before they become expensive problems. Let’s walk through the telltale indicators that separate quality workmanship from installations that cut corners.

Why Proper Installation Assessment Matters

Before diving into specific signs, it’s important to understand that sliding glass door installation affects three critical aspects of your home: structural integrity, weather protection, and safety. Poor installation in any of these areas can lead to expensive consequences that far exceed the original installation cost.

What’s at Stake:

  • Water damage from improper sealing can cost $5,000-$15,000 to remediate
  • Energy waste from poor installation adds hundreds to annual utility bills
  • Security vulnerabilities from inadequate mounting compromise home safety
  • Structural damage from improper support can affect your home’s foundation

Recognizing quality installation signs helps you address issues early, when fixes are still manageable and affordable.

Sign #1: Smooth, Effortless Door Operation

What Quality Looks Like: Your sliding glass door should glide smoothly with minimal effort, requiring no more than 10-15 pounds of force to open fully. The movement should be consistent from start to finish without binding, sticking, or requiring extra force at any point.

Testing Method:

  • Open and close the door completely several times
  • Pay attention to resistance levels throughout the entire range of motion
  • Listen for unusual sounds like grinding, squeaking, or scraping

Red Flags:

  • Door requires significant force to move
  • Movement feels jerky or inconsistent
  • Grinding or metal-on-metal sounds during operation
  • Door stops or binds at certain points

Why This Matters: Smooth operation indicates proper alignment of the frame, correct adjustment of rollers, and adequate track preparation. Difficulty in operation suggests alignment issues that will worsen over time and potentially damage the door mechanism.

Sign #2: Consistent, Even Gaps Around the Frame

Professional installation creates uniform gaps between the door frame and surrounding structure, typically 1/4 to 3/8 inch on all sides, properly filled with appropriate materials.

What to Check:

  • Visual Inspection: Look for consistent spacing around the entire frame perimeter
  • Gap Measurement: Use a ruler to verify uniform spacing
  • Fill Material: Gaps should be filled with appropriate insulation or backing rod

Quality Indicators:

  • Even spacing on all sides (within 1/8 inch variation)
  • Proper backing rod or insulation visible in gaps
  • Clean, professional caulk lines without gaps or bulges

Warning Signs:

  • Gaps that vary significantly in width
  • Visible daylight through gaps
  • Missing or inadequate gap filling
  • Caulk applied directly to wide gaps without backing material

Sign #3: Weatherstripping That Creates Complete Seals

Proper weatherstripping installation is crucial for energy efficiency and weather protection. Quality installation ensures complete contact between weatherstripping and door surfaces.

How to Evaluate:

  • Visual Check: Weatherstripping should be straight, properly seated, and without gaps
  • Touch Test: Run your hand along weatherstripping to feel for consistent contact
  • Light Test: With door closed, look for light leaks around the perimeter

Professional Standards:

  • Weatherstripping makes consistent contact without compression gaps
  • Corner joints are properly mitered and sealed
  • No visible light penetration when door is closed
  • Weatherstripping appears new and properly aligned

Concerns to Address:

  • Gaps in weatherstripping coverage
  • Compressed or damaged weatherstripping
  • Light visible around door perimeter
  • Weatherstripping that appears pulled or stretched

Sign #4: Level and Properly Aligned Door Panels

A properly installed sliding glass door sits level and square in its frame, with panels that align correctly when closed and track smoothly when opened.

Assessment Techniques:

  • Visual Alignment: Closed door panels should align evenly at top and bottom
  • Level Check: Use a carpenter’s level to verify door panels are plumb and level
  • Gap Consistency: Measure gaps between fixed and sliding panels

Quality Indicators:

  • Door panels appear parallel and evenly spaced
  • Level readings show door is plumb (within 1/8 inch over 8 feet)
  • Even reveal between door panels when closed
  • Door operates without binding or adjustment needs

Red Flags:

  • Visible misalignment between door panels
  • Door appears to lean or sag
  • Uneven gaps between panels
  • Need to lift or push door panel to close properly

Sign #5: Secure, Professional-Grade Hardware Installation

Quality hardware installation ensures smooth operation, security, and longevity. All components should be properly fastened, aligned, and functioning as designed.

Hardware Assessment:

  • Handle Operation: Smooth, firm operation without excessive play
  • Lock Mechanism: Secure engagement with proper alignment
  • Roller Systems: Smooth operation without noise or binding
  • Track Mounting: Secure attachment with appropriate fasteners

Professional Standards:

  • Hardware operates smoothly without excessive force
  • All screws and fasteners are properly tightened
  • Lock engages fully and operates smoothly
  • No visible damage or wear on hardware components

Warning Signs:

  • Loose or wobbly handles
  • Locks that don’t engage properly or require force
  • Visible gaps around hardware mounting
  • Hardware that appears misaligned or poorly fitted

Sign #6: Water-Tight Sealing and Proper Drainage

Effective water management is critical for preventing damage. Professional installation includes proper sealing and drainage systems that direct water away from your home.

Water Management Check:

  • Sill Pan: Should be visible and properly sloped for drainage
  • Weep Holes: Present and unobstructed for water drainage
  • Exterior Caulking: Complete seal around frame perimeter
  • Interior Sealing: Proper vapor barriers and moisture management

Quality Features:

  • Sill pan slopes away from interior
  • Weep holes are clear and properly positioned
  • Caulk lines are smooth, complete, and appropriate for materials
  • No signs of water infiltration or moisture damage

Concerns:

  • Missing or improperly installed sill pan
  • Blocked or missing weep holes
  • Gaps in exterior caulking
  • Water stains or damage around installation

Sign #7: Proper Insulation and Energy Sealing

Professional installation includes comprehensive insulation and air sealing to maximize energy efficiency and comfort.

Energy Efficiency Indicators:

  • Cavity Insulation: Gaps around frame should be filled with appropriate insulation
  • Air Sealing: No drafts detectable around door perimeter
  • Thermal Performance: No condensation on glass or frame during normal conditions
  • Interior Comfort: Even temperatures near door area

Testing Methods:

  • Hold tissue paper near door edges to detect air leaks
  • Check for condensation during temperature extremes
  • Monitor energy bills for unusual increases
  • Feel for drafts around door perimeter

Professional Standards:

  • Insulation completely fills gaps without compression
  • No detectable air movement around frame
  • Glass remains clear during normal temperature differences
  • Consistent comfort levels throughout room

Sign #8: Code-Compliant Safety Features

Safety compliance ensures your installation meets building codes and provides adequate protection for your family.

Safety Requirements:

  • Tempered Glass: Required for panels and any glass near floor level
  • Safety Film: May be required in some jurisdictions
  • Structural Support: Adequate header and support for door weight
  • Emergency Access: Egress requirements met if applicable

Verification Steps:

  • Look for tempered glass markings in corner of panels
  • Verify adequate clearance for emergency egress
  • Check that installation doesn’t block required exits
  • Ensure door operates from inside without tools

Code Compliance Indicators:

  • Tempered glass markings visible on all panels
  • Adequate opening size for egress requirements
  • Proper structural support for door weight
  • Hardware accessible from inside without special tools

Sign #9: Clean, Professional Finishing Work

Quality installation includes attention to finishing details that indicate professional craftsmanship and attention to detail.

Finishing Quality Check:

  • Trim Work: Clean, properly fitted interior and exterior trim
  • Paint/Stain Match: New finishes blend seamlessly with existing
  • Cleanup: Complete removal of debris and materials
  • Touch-ups: Any necessary repairs completed professionally

Professional Standards:

  • Trim joints are tight and properly caulked
  • Paint or stain matches existing finishes
  • No construction debris or damage left behind
  • All surfaces cleaned and ready for use

Quality Concerns:

  • Gaps in trim or poor fitting
  • Obvious color mismatches in finishes
  • Construction debris not removed
  • Damage to surrounding surfaces not repaired

Sign #10: Comprehensive Documentation and Warranty

Professional installers provide complete documentation, warranties, and maintenance information that protect your investment.

Documentation Standards:

  • Installation Certificate: Verification of proper installation
  • Warranty Information: Clear coverage terms for materials and labor
  • Maintenance Guide: Instructions for care and operation
  • Permit Documentation: Copies of permits and inspection approvals

What You Should Receive:

  • Written warranty covering installation and materials
  • Operating and maintenance instructions
  • Contact information for service and warranty claims
  • Proof of proper permitting and inspections

Red Flags:

  • No written warranty provided
  • Incomplete or missing documentation
  • Unclear warranty terms or coverage
  • No maintenance or operating instructions

When to Take Action: Addressing Installation Issues

If your assessment reveals problems with your sliding glass door installation, acting quickly can prevent minor issues from becoming major expenses.

Immediate Action Items:

  • Document Issues: Photograph problems for warranty claims
  • Contact Installer: Reach out to original contractor if still under warranty
  • Get Professional Assessment: Have qualified installer evaluate concerns
  • Address Safety Issues: Prioritize any safety or security concerns

Timeline Considerations:

  • Most installation warranties last 1-2 years
  • Water infiltration issues should be addressed immediately
  • Safety concerns require immediate professional attention
  • Energy efficiency problems can wait for optimal weather conditions

Professional Re-evaluation: When to Call Experts

Some installation issues require professional assessment to determine the best course of action and ensure proper repairs.

When to Call Professionals:

  • Water infiltration or damage is evident
  • Door operation has deteriorated significantly
  • Safety features appear compromised
  • Energy efficiency concerns are affecting comfort or costs

What Professional Assessment Includes:

  • Comprehensive installation evaluation
  • Identification of code compliance issues
  • Cost estimates for necessary repairs
  • Recommendations for preventive maintenance

Conclusion: Quality Installation Protects Your Investment

Recognizing the signs of proper sliding glass door installation empowers you to protect one of your home’s most important investments. Whether you’re evaluating a recent installation or assessing an older door, these quality indicators help ensure your door provides years of safe, efficient, and trouble-free operation.

Remember, quality installation isn’t just about avoiding problems – it’s about maximizing the benefits of your investment through enhanced security, energy efficiency, and home value. When installation is done right, your sliding glass door becomes a seamless part of your home that enhances your lifestyle rather than creating ongoing concerns.

If your assessment reveals installation issues, don’t wait for problems to worsen. Professional evaluation and timely corrections protect your home and ensure you get the full value from your sliding glass door investment.

Ready to ensure your sliding glass door installation meets professional standards? Visit StuckDoor.com to connect with certified professionals who guarantee quality workmanship and stand behind every installation with comprehensive warranties and ongoing support.

Leave a Reply

Your email address will not be published. Required fields are marked *