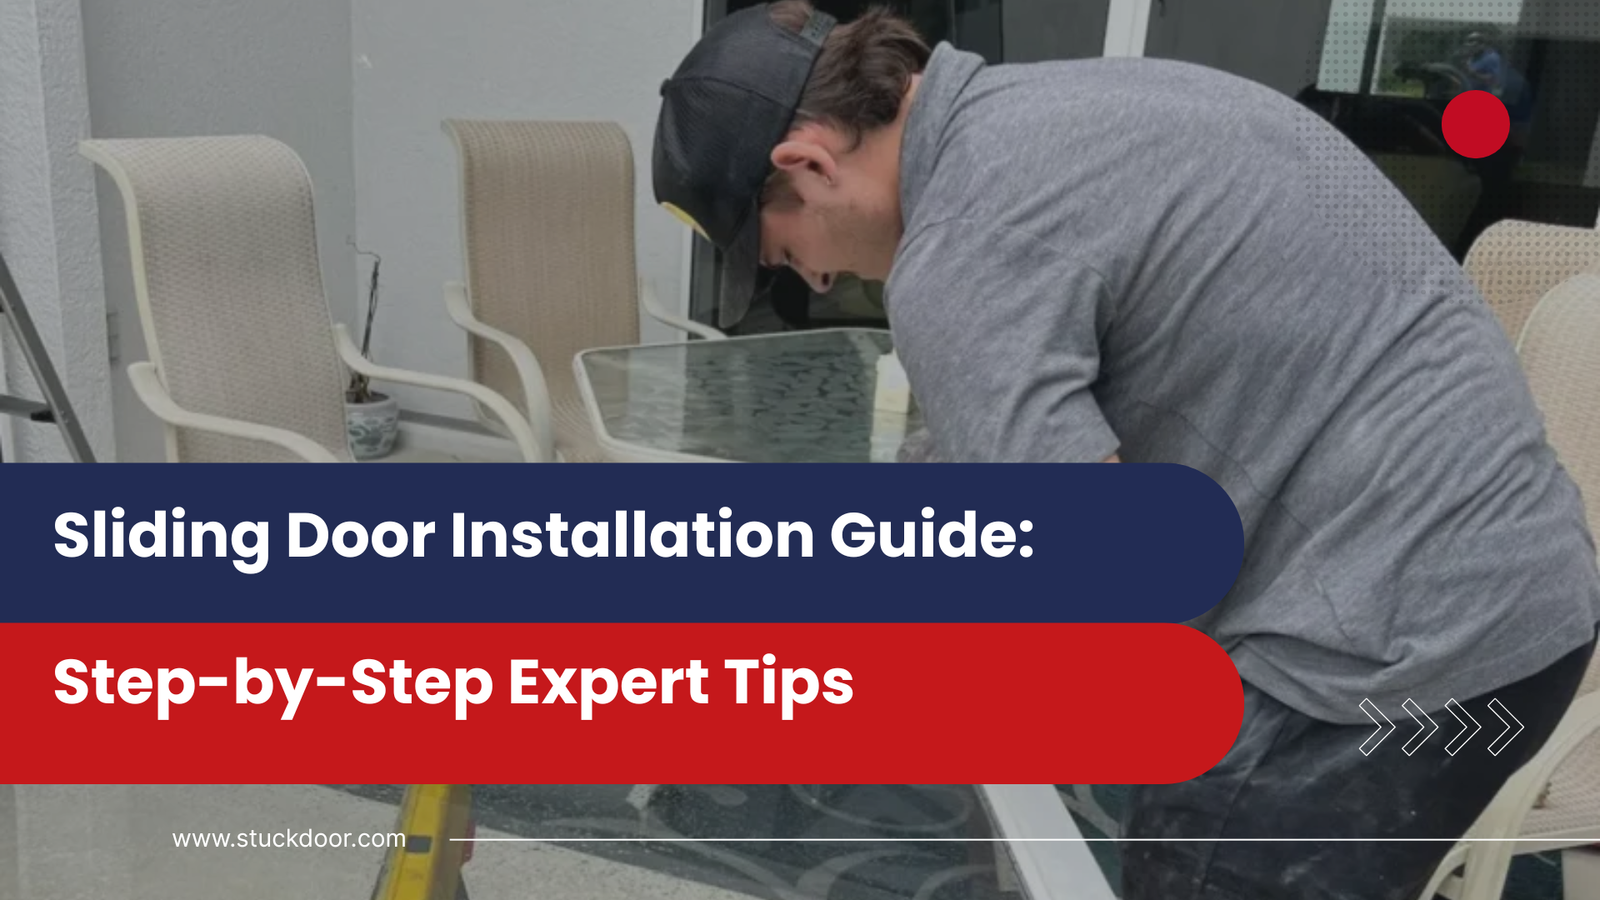
Expert Guide to Step-by-Step Sliding Door Installation

Picture this: you’re standing in your living room, dreaming of that perfect sliding door that’ll transform your space into an indoor-outdoor paradise. But then reality hits—the installation seems daunting, doesn’t it? Here’s the thing: with the right guidance and approach, sliding door installation can be a manageable project that dramatically enhances your home’s functionality and value.
Whether you’re a seasoned DIY enthusiast or considering professional installation, understanding the complete process helps you make informed decisions and achieve stunning results. Let’s walk through everything you need to know about sliding door installation, from planning to finishing touches.
Why Sliding Door Installation Matters More Than You Think
Installing sliding doors isn’t just about replacing an old entryway—it’s about revolutionizing how your space functions. Think of sliding doors as the bridge between your indoor comfort and outdoor freedom. When installed correctly, they create seamless transitions, maximize natural light, and can even improve your home’s energy efficiency.
But here’s what many homeowners don’t realize: improper installation can lead to:
- Drafts and energy loss costing hundreds annually
- Water infiltration causing structural damage
- Difficulty opening and closing over time
- Security vulnerabilities
- Premature wear requiring costly repairs
That’s exactly why getting the installation process right from day one is crucial for your investment.
Essential Tools and Materials for Sliding Door Installation
Before diving into the actual installation, you’ll need the right arsenal. Professional sliding door installation requires precision tools and quality materials—there’s no cutting corners here.
Required Tools:
- Level (minimum 4-foot, preferably 6-foot)
- Drill with various bits
- Circular saw or miter saw
- Measuring tape
- Chalk line
- Shims (plastic and wood)
- Caulk gun and weatherproof sealant
- Safety glasses and gloves
Materials Needed:
- Sliding door unit (properly sized)
- Flashing tape
- Insulation foam
- Exterior-grade screws
- Weather stripping
- Threshold sealant
Think of these tools as your installation insurance policy—having the right equipment prevents costly mistakes and ensures professional-grade results.
Pre-Installation Planning: Measuring and Preparation

This step separates successful installations from problematic ones. You wouldn’t build a house without a solid foundation, and you shouldn’t install sliding doors without proper planning.
Accurate Measurements Are Everything
Measure your rough opening three times: width at the top, middle, and bottom, then height on both sides and center. Why? Because even new construction can have variations that affect your installation.
Record the smallest measurements—this ensures your door will fit properly. A common mistake is assuming the opening is perfectly square. In reality, most openings require minor adjustments.
Site Preparation Steps
Clear the work area completely. Remove old doors, trim, and any debris. Inspect the rough opening for:
- Level sill and header
- Plumb side jambs
- Structural integrity
- Proper drainage slope
Address any issues now—it’s much easier than dealing with problems mid-installation.
Step-by-Step Sliding Door Installation Process
Now comes the main event. Follow these steps methodically, and you’ll achieve professional results that last for decades.
Step 1: Install the Sill and Prepare the Opening
Start by installing your sill pan or flashing system. This waterproof barrier is your first line of defense against moisture infiltration. Apply it according to manufacturer specifications, ensuring proper overlap and sealing.
Check that your sill slopes away from the interior at approximately 1/4 inch per foot. This slight angle prevents water accumulation and directs moisture away from your home.
Step 2: Position and Level the Door Frame
This is where precision becomes critical. Place the door frame in the opening and use shims to achieve perfect level and plumb alignment.
Start with the sill, ensuring it’s level across its entire width. Then check that the side jambs are plumb using your level. A frame that’s even slightly out of alignment will cause operational problems throughout the door’s lifespan.
Step 3: Secure the Frame Properly
Once positioned correctly, secure the frame using appropriate fasteners. Drive screws through the adjustment points, not directly into the frame material. This prevents warping and maintains structural integrity.
Check alignment after each screw placement—frames can shift during fastening. Take your time here; rushing this step causes most installation failures.
Step 4: Install the Door Panels
Most sliding doors feature one fixed panel and one sliding panel. Install the fixed panel first, ensuring proper alignment with the frame. Then carefully position the sliding panel on its track system.
Test the operation immediately. The door should slide smoothly without binding or excessive effort. If you encounter resistance, check your frame alignment before proceeding.
Step 5: Apply Weather Sealing and Insulation
Proper sealing transforms a basic installation into a high-performance system. Apply expanding foam insulation in gaps between the frame and rough opening, but don’t over-fill—excessive foam can bow the frame.
Install weather stripping according to manufacturer specifications. Pay special attention to the lock stile and threshold areas where most air infiltration occurs.
Professional Installation vs. DIY: Making the Right Choice
Here’s the honest truth: sliding door installation falls into the “advanced DIY” category. While possible for skilled homeowners, several factors determine whether professional installation makes more sense.
Consider Professional Installation If:
- Your opening requires structural modifications
- You’re dealing with specialty doors (hurricane-rated, extra-wide, etc.)
- Local codes require permits and inspections
- You lack experience with precision carpentry
- Your time is limited for a multi-day project
DIY May Work If:
- You have solid carpentry skills
- The opening is standard size and square
- You have access to proper tools
- You’re comfortable troubleshooting alignment issues
Remember, professional installers bring specialized tools, experience with common problems, and often provide warranties on their work. For many homeowners, this peace of mind justifies the investment.
Common Installation Mistakes to Avoid
Even experienced DIYers can fall into these traps. Learning from others’ mistakes saves time, money, and frustration.
The “Good Enough” Trap: Settling for “close enough” on measurements or alignment creates long-term problems. Sliding doors require precision—there’s no fudging the numbers.
Inadequate Weatherproofing: Skipping proper flashing or weather sealing leads to water damage. Florida’s climate is particularly unforgiving of installation shortcuts.
Ignoring Manufacturer Instructions: Each door system has specific requirements. Generic installation approaches often miss critical details that ensure optimal performance.
Rushing the Process: Quality installation takes time. Trying to complete the project in one weekend often results in corners being cut and problems emerging later.
Maintenance Tips for Long-lasting Performance
Your installation investment deserves protection. Regular maintenance keeps sliding doors operating smoothly for decades.
Monthly Tasks:
- Clean tracks of debris and buildup
- Inspect weather stripping for wear
- Test door operation and adjust if needed
Seasonal Maintenance:
- Lubricate rollers and track systems
- Check and refresh caulk seals
- Inspect screen doors for damage
Annual Professional Service: Consider having your sliding doors professionally serviced annually, especially in Florida’s challenging climate. Professional technicians can identify and address minor issues before they become major problems.
Conclusion: Your Path to Perfect Sliding Door Installation
Installing sliding doors successfully requires the right combination of planning, precision, and patience. Whether you choose the DIY route or partner with professional installers, understanding this process helps ensure outstanding results that enhance your home for years to come.
Remember, sliding door installation isn’t just about the immediate transformation—it’s an investment in your home’s functionality, energy efficiency, and value. Done right, your new sliding doors will provide seamless indoor-outdoor living and reliable performance through countless Florida seasons.
Ready to transform your space with expertly installed sliding doors? The key is starting with solid planning and committing to quality throughout every step of the process.