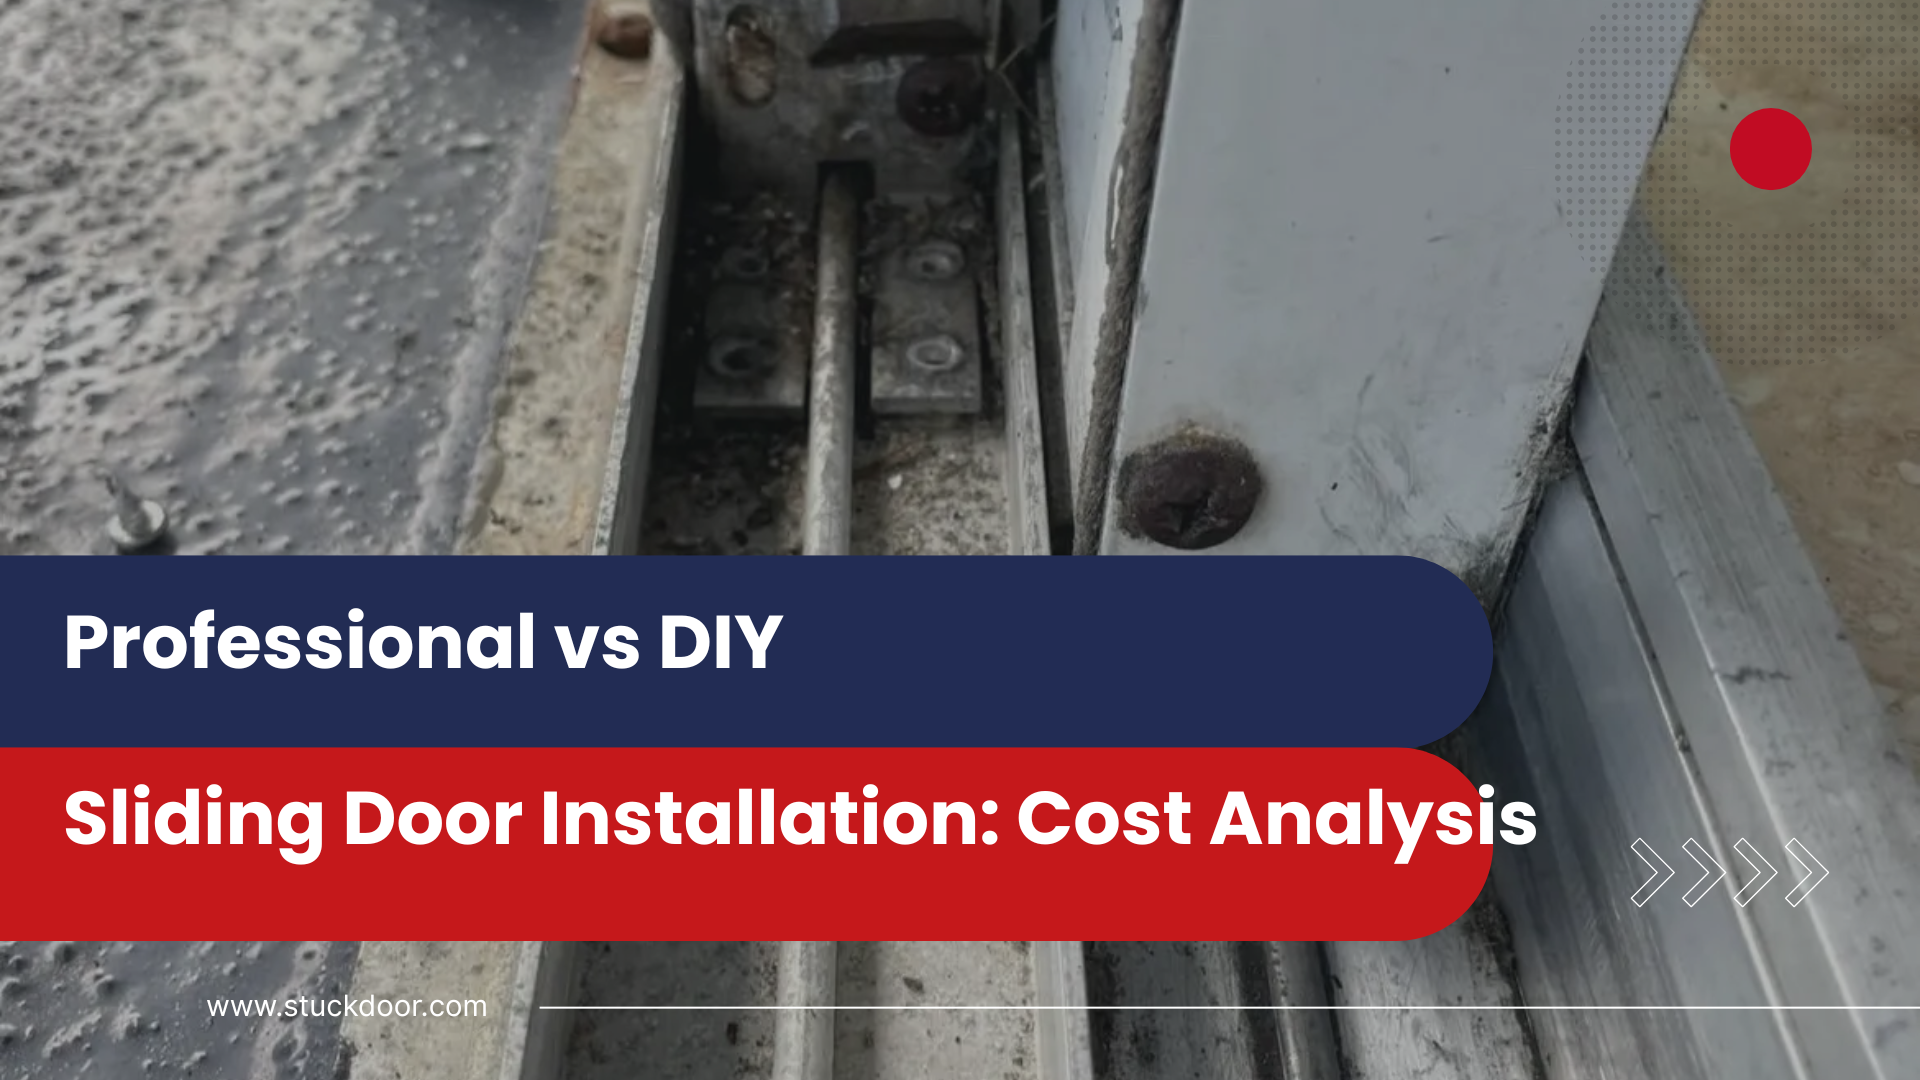
Mike thought he’d save $800 by installing his sliding glass doors himself. Three weekends, two trips to the emergency room, and one flooded living room later, he called a professional anyway. His “savings” turned into a $2,400 lesson in hidden costs.
If you’re weighing professional versus DIY installation for your sliding glass doors, you’re asking the right question. But here’s what most homeowners don’t realize: the upfront price difference tells only part of the story. The real cost comparison includes time, tools, potential mistakes, and long-term performance—factors that can dramatically shift the equation.
Let’s break down the true costs of both approaches, so you can make an informed decision that protects both your wallet and your home.
When we talk about installation costs, most people focus on the obvious expenses: labor rates and material prices. But the complete cost picture includes several hidden factors that can make or break your budget.
Think of sliding door installation costs like an iceberg. The visible portion—quoted prices and material costs—represents maybe 60% of the real investment. Below the surface lurk:
Understanding these hidden costs helps you compare apples to apples when evaluating your options.
Professional sliding glass door installation pricing might seem straightforward, but you’re investing in much more than labor. Let’s break down what you’re actually purchasing with professional installation services.
In Central Florida, professional sliding glass door installation typically ranges from $800 to $1,500 for standard installations. This price variation depends on:
Premium installations involving large openings, hurricane-rated doors, or complex structural work can range from $1,500 to $3,000 or more.
Professional installation isn’t just about putting the door in place. Quality installers provide:
Pre-Installation Services:
Installation Day Services:
Post-Installation Support:
Professional installation includes several value components that DIY approaches can’t match:
Speed and Efficiency: Professional teams complete installations in 4-8 hours versus 2-3 weekends for DIY projects.
Specialized Tools: Professionals own equipment worth thousands of dollars specifically designed for door installation.
Experience Factor: Seasoned installers have solved every common problem and can prevent issues before they occur.
Insurance Protection: Professional work is covered by liability insurance protecting you from installation-related damage.
DIY sliding glass door installation appeals to budget-conscious homeowners, but the true costs extend far beyond material savings. Let’s examine what you’re really investing when you choose the DIY route.
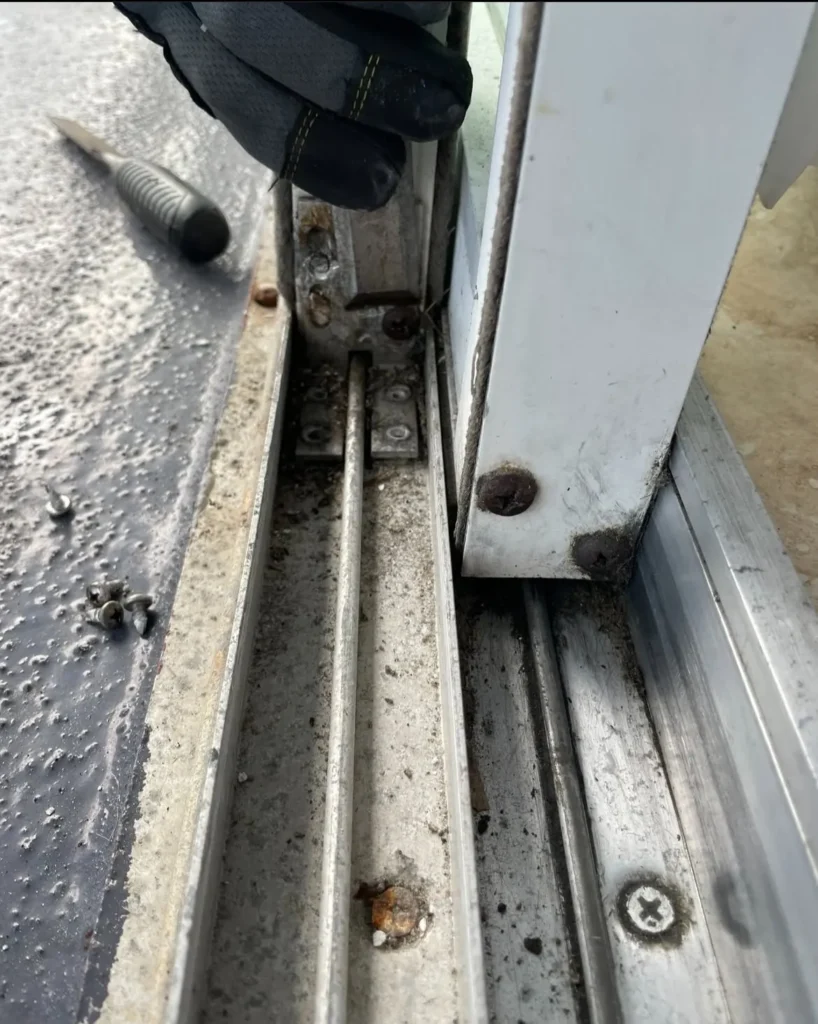
Most homeowners don’t own the specialized tools required for professional-quality sliding door installation. You’ll need:
Essential Tools (Purchase or Rental):
Tool Rental Alternative: Some tools can be rented, but rental costs for a multi-day project often approach purchase prices. Factor $200-400 for tool access during your installation timeline.
Here’s where DIY costs get interesting. Most homeowners underestimate the time required for quality sliding door installation.
Typical DIY Timeline:
That’s 32-50 hours of your time. If you value your time at even $25 per hour, you’re looking at $800-1,250 in opportunity cost.
DIY projects always include surprise costs that bust budgets:
Mistake Corrections: First-time installers commonly make errors requiring additional materials or professional correction. Budget 20-30% extra for mistake recovery.
Multiple Store Trips: Forgotten items and unexpected needs typically require 3-5 additional shopping trips.
Disposal Fees: Old door disposal and construction debris removal can cost $100-300.
Permit Costs: Many areas require permits for door replacement, adding $75-200 to DIY projects.
Both professional and DIY installations include hidden costs that dramatically impact your real investment. Understanding these helps you make truly informed decisions.
Professional installation takes 4-8 hours. DIY installation consumes entire weekends—often multiple weekends if problems arise.
Consider your hourly earning potential. If you earn $30 per hour, those 40 DIY hours represent $1,200 in lost income opportunity. Suddenly, professional installation looks much more affordable.
Installation quality directly affects your sliding doors’ lifespan and performance. Poor installation can lead to:
These quality-related costs often exceed any upfront DIY savings within 2-3 years.
DIY installation puts you at financial risk if something goes wrong. Professional installers carry liability insurance protecting you from:
Self-insurance for these risks represents a hidden cost that many DIY enthusiasts overlook.
Despite the challenges, DIY sliding glass door installation can make financial sense in specific situations. Understanding when DIY works helps you make the right choice for your circumstances.
You Have Relevant Experience: If you’ve successfully completed similar projects, you understand the challenges and have developed necessary skills.
You Own Professional Tools: Existing tool ownership eliminates a major cost component and suggests you’re serious about quality work.
You Have Abundant Time: If your schedule allows for extended project timelines without pressure, DIY becomes more feasible.
The Installation Is Straightforward: Standard-size doors in square openings with no structural modifications required present fewer complexity challenges.
Honest self-assessment is crucial. Successful DIY sliding door installation requires:
If you’re missing any of these capabilities, professional installation becomes the safer investment.
Certain situations make professional installation not just worthwhile, but essential for protecting your investment and ensuring optimal results.
Structural Modifications: If your project requires header changes, rough opening adjustments, or structural reinforcement, professional expertise becomes mandatory.
Non-Standard Sizes: Oversized doors, custom configurations, or unusual dimensions require specialized knowledge and tools.
Hurricane-Rated Installations: Florida’s hurricane requirements demand precise installation techniques that ensure code compliance and optimal performance.
Limited Experience: If this is your first sliding door installation, the learning curve can be expensive and frustrating.
Time Constraints: When you need the installation completed quickly and correctly, professional efficiency justifies the investment.
High-Value Properties: Premium homes deserve professional installation that protects property values and ensures optimal performance.
Professional installation provides value protection that extends far beyond the installation day:
Warranty Coverage: Professional work typically includes workmanship warranties that protect your investment.
Code Compliance: Professionals ensure installations meet local building codes, preventing future problems during home sales or inspections.
Optimal Performance: Proper installation maximizes your doors’ energy efficiency and operational lifespan.
Let’s examine actual scenarios that illustrate how professional versus DIY costs play out in real situations.
DIY Approach:
Professional Installation:
In this standard scenario, professional installation actually costs $725 less when you factor in time value and hidden costs.
DIY Approach:
Professional Installation:
Complex installations show even greater professional value, saving $1,500 while ensuring quality results.
DIY Approach (Existing Tools):
Professional Installation:
Even in the most favorable DIY scenario, professional installation costs only $175 more while providing significant additional value.
The professional versus DIY decision isn’t one-size-fits-all. The right choice depends on your specific circumstances, skills, and priorities.
You value your time highly and want guaranteed results. Professional installation makes sense when speed, quality, and peace of mind matter more than minimal cost savings.
Professional installation also wins when your project involves complexity, you lack relevant experience, or you’re dealing with high-value property where mistakes carry significant consequences.
You genuinely enjoy challenging projects and have relevant construction experience. DIY can work when you own appropriate tools, have flexible timing, and are comfortable accepting responsibility for results.
However, be honest about your capabilities and realistic about time requirements. Many successful DIY enthusiasts still choose professional installation for sliding doors due to the complexity and consequences of mistakes.
Whether you choose professional or DIY installation, certain strategies help maximize your investment value.
Get Multiple Quotes: Compare not just prices, but services included and warranty terms.
Verify Credentials: Ensure installers are licensed, insured, and experienced with your specific door type.
Understand What’s Included: Clarify whether permits, disposal, and follow-up service are included in quoted prices.
Invest in Quality Tools: Proper tools make the difference between frustrating struggle and satisfying success.
Take Your Time: Rushing DIY installations leads to mistakes that cost more than professional installation would have.
Know When to Call Professionals: Have a backup plan and budget for professional help if problems exceed your capabilities.
When you factor in all costs—time, tools, potential mistakes, and long-term value—professional sliding glass door installation often provides superior value even when DIY appears cheaper upfront.
The key insight? Your sliding doors are a significant investment in your home’s comfort, efficiency, and value. Professional installation protects that investment while saving you time, frustration, and often money.
That said, experienced DIY enthusiasts with proper tools and abundant time can achieve excellent results. The crucial factor is honest self-assessment and realistic cost calculation that includes all hidden expenses.
Ready to move forward with your sliding door project? Whether you choose professional installation or the DIY route, understanding the true costs helps ensure you make the choice that best serves your needs, budget, and long-term satisfaction.
Stuck Door helps fix and install sliding doors in Winter Garden, Clermont, Windermere, and across Central Florida. Our friendly expert technicians have years of experience making sure homes and businesses have reliable doors that work perfectly.
Windermere • Doctor Phillips • Lake Nona • Winter Garden • Clermont • Minneola • Groveland • Ocoee • Apopka • Winter Park • Maitland • Kissimmee • Horizon West • Altamonte Springs
Sliding glass door experts, built for Florida homes—call us today.